I decided recently to upgrade the hard disk in my MacBook Pro to a Solid State Disk (SSD) so I can run a "Data Center in a Box", much like the previous one I created before. This post will cover the installation of the SSD and subsequent articles will cover the set up and configuration of my new DC in a box. As you will see in this post, I know just enough about the Mac platform to be really dangerous!
To create this environment I purchased two items, an OCZ Vertex 2 240GB SSD and a RocketFish 2.5" SATA HDD Enclosure. The reason for the external enclosure is twofold; first to clone the SSD from the HDD and the second to swap them long term and use the SSD for boot and the existing HDD for "Tier Two Storage" as needed. Here's a photo of the parts and the SSD in the case:
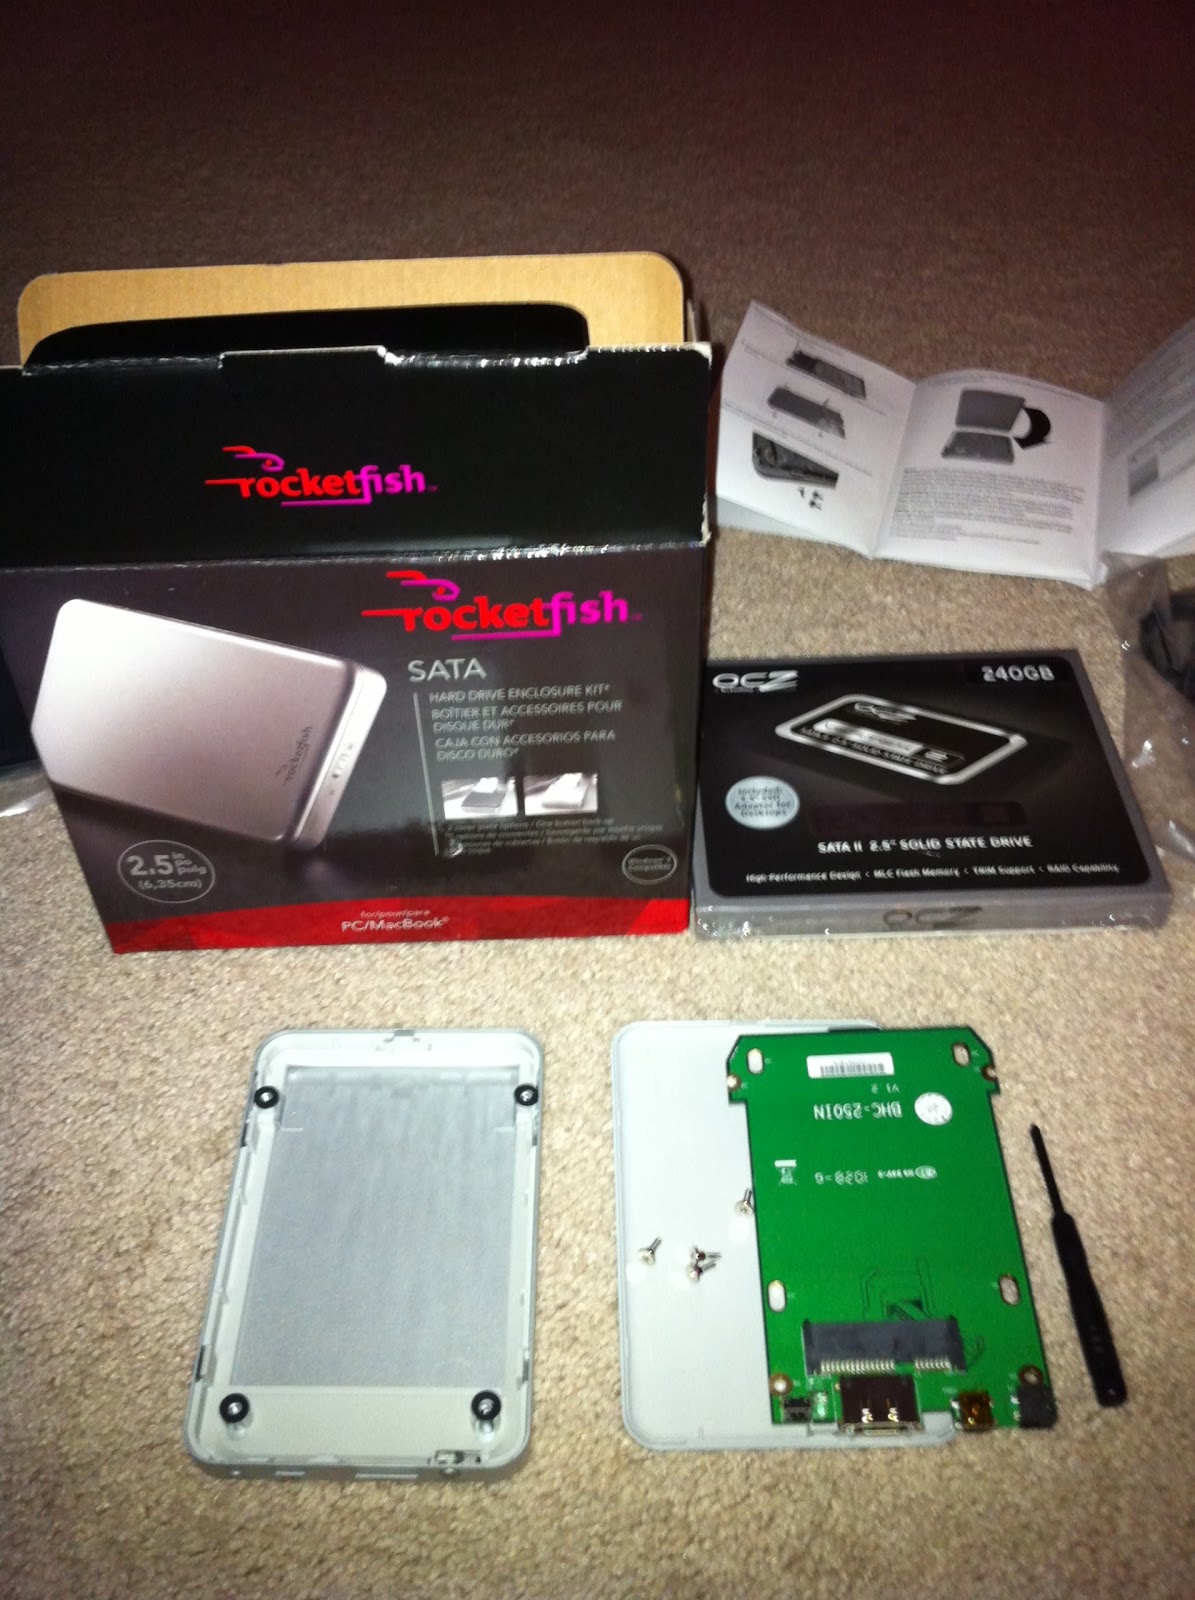
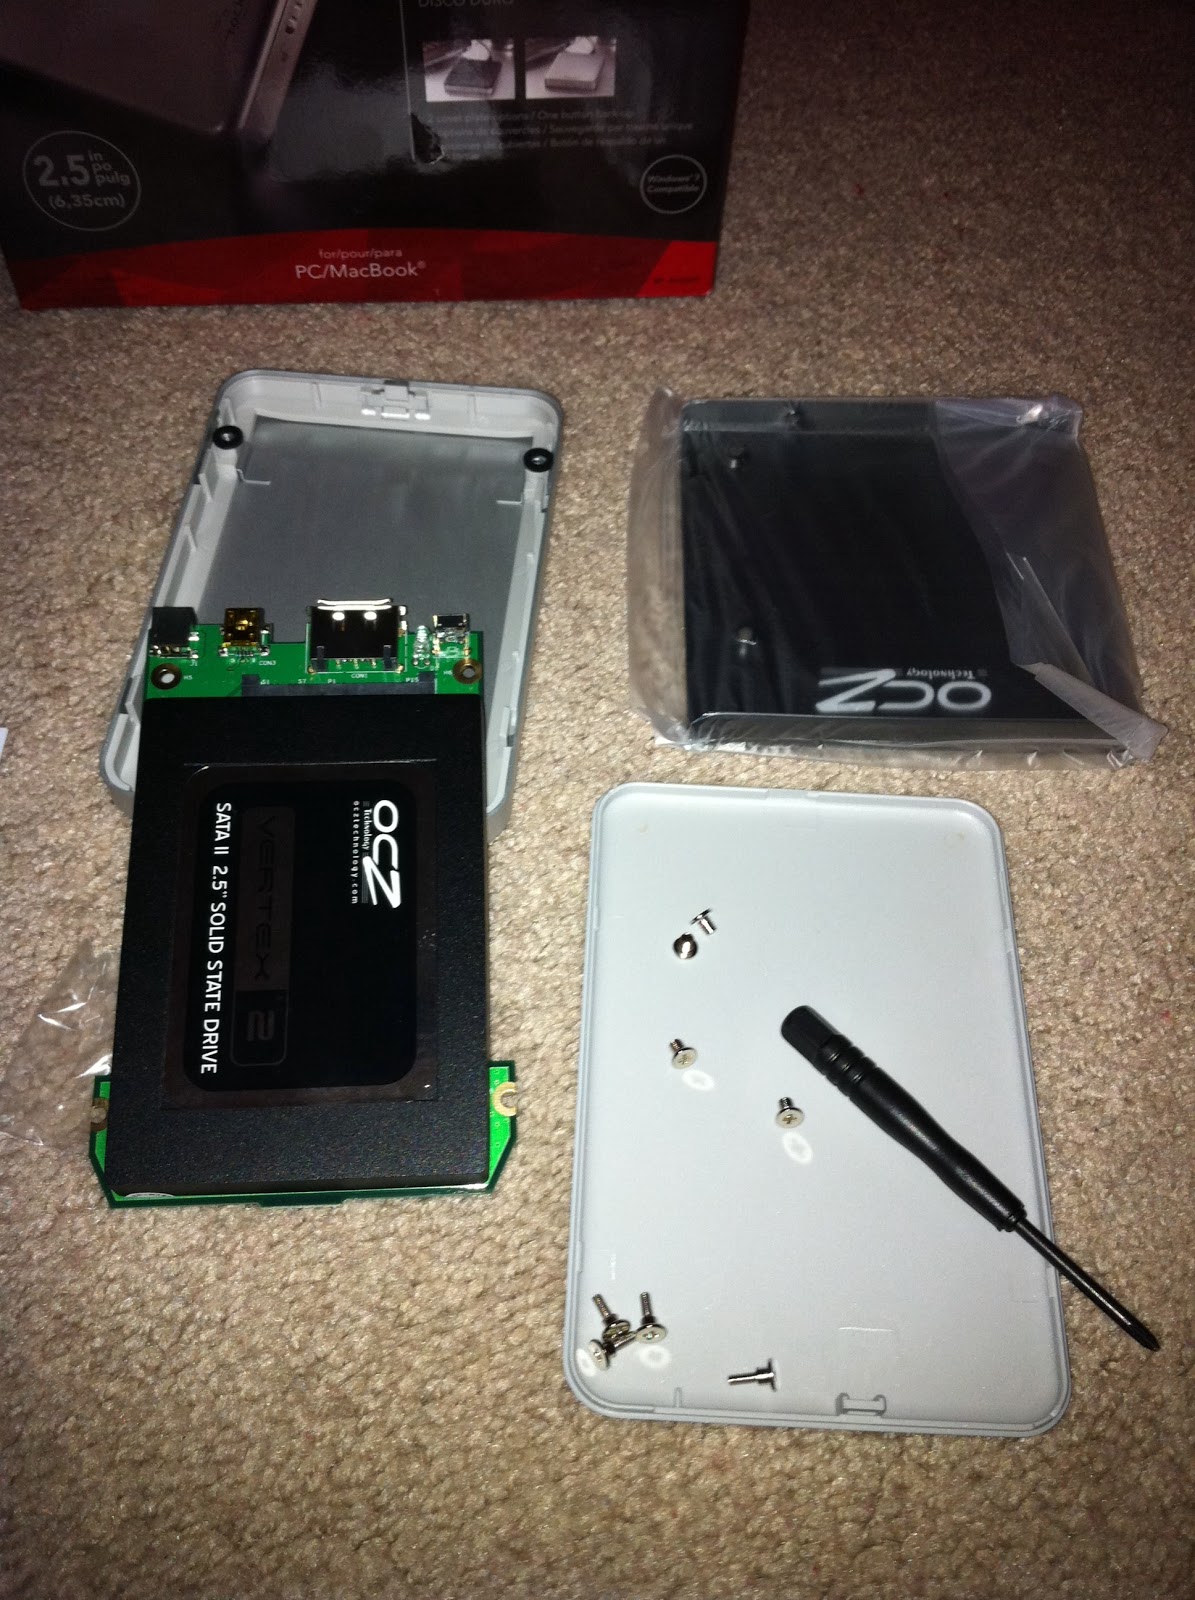
Step One: Install the SSD in the RocketFish Enclosure (pictured above right).
Step Two: Plug the SSD in and format (Erase) the SSD drive using the Apple Disk Utility.
Step Three: Clone the Internal HDD to the External SSD. For this step I picked Carbon Copy Cloner. It is very easy to use, just pick the source and the destination and click clone. As you can see it took me 2.5 hours for this to clone 142 GB.


Step Four: Swap the internal and external drives. This step requires a small phillips screwdriver and a Torx T6 screwdriver. I followed this video from Other World Computing:
Step Five: I swapped the drives and powered on the laptop and got the following. My first thought, this isn't good!!

Here is where I learned a little about about Mac OSX. Unlike Windows, the system was still looking for the old internal hard disk. So, I plugged in the old HDD into the USB and the system booted again! From there I went into System Preferences and changed the SSD to be the boot drive. One reboot and I was back in business!

Lastly, I ran Xbench to see the before (top) and after (bottom) results. So far, I'm loving it and will post more as I get the lab setup.
UPDATE: Make sure you read my follow up article on how to maintain the SSD performance over time.


5 comments:
You are going to love it. Since I did this I can run 4 VM's and my native OS X apps without feeling a pinch. I took the plunge on the SSD (the exact one you bought) for the same reason. Here's the only piece of golden information I can provide:
When your OS suddenly starts freezing for no apparent reason and the interval at which it happens is quicker and quicker after each reboot, use this thread: http://forums.macrumors.com/showthread.php?t=841182
Keep good backups because you will need to do this about twice a year.
Hope all is well!
Thank you for the link! I will either use that or this post (or a combination) as well. I have them both bookmarked for future reference.
http://jasonnash.wordpress.com/2010/11/17/getting-your-ssd-back-to-full-speed-in-osx/
Good stuff...just waiting for the ~500 GB SSD's to come down more before I make the jump myself...
Aaron,
Great post, thank you! Followed it and upgraded to SSD with no issues. One modification I would make is that you can save time and some steps by swapping in the SSD and placing the old HD in the enclosre before cloning and then switching over to it and restarting after cloning is complete.
Also, I swapped in my 8GB RAM upgrade at the same time so I didn't have to unscrew the bottom plate twice! :)
Kenneth - Very true! If you knew what you were doing and were smart about it you would swap the boot drive BEFORE unlike me ;)
Post a Comment